After purchasing a TV box, the next step is setting up. Setting up a TV box is not a challenging task at all. If you have all the steps necessary, then you are good to go. The easiest one is the evpad setup procedure. The process does not need a professional at all. Carefully following the steps will protect you from making any unnecessary mistakes. The EVPAD TV boxes are several in the market. This post will help educate you on the step-by-step method for EVPAD 5P setup.
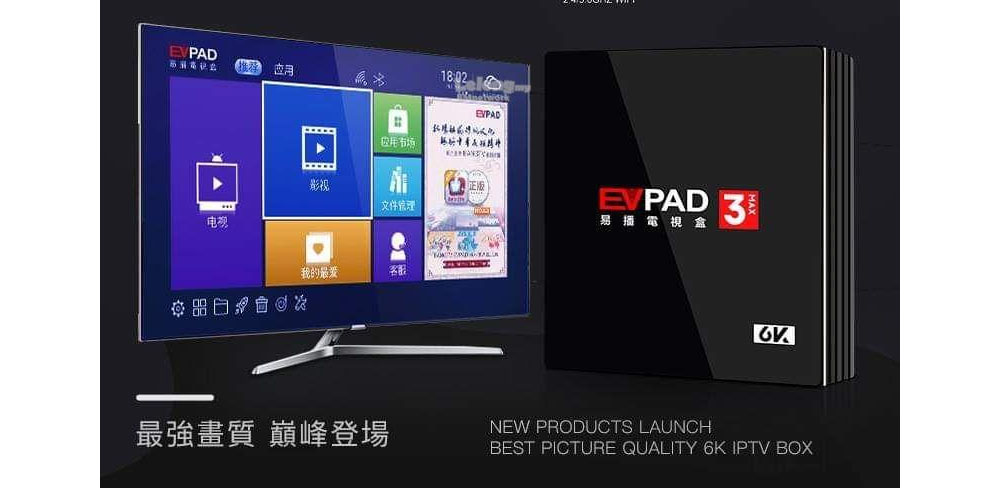
Brief EVPAD 5P TV Box description
- Colorful lights
- Powerful processor
- The picture quality of 6K
- Ample storage of 32G + 4G
- EVAI voice assistant
- 8 G/2.5G Dual Channel and Dual-band WIFI
- Bluetooth 4.2
Step by Step method for EVPAD 5P setup
1. Unboxing the EVPAD 5P
After receiving the EVPAD 5P, the first step to setting it up is removing it from the box. The unboxing part will help you make sure that all the parts are available. The available parts should be; power cable, TV box, charger, remote control, and HDMI cable. The EVPAD 5P is small in size; it measures 96*96*19mm and weighs about 100g.
The front of the box has a display part; the display part shows the connectivity of the TV box and time. The back of the TV box has five ports for the SPDIF, HDMI, Ethernet, AV, and IR.
At the same time, the left side of the TV box has ports for the USB. A microSD card slot is also found on the left side of the TV box. After getting all the external features right; you can proceed with setting the TV box up.
2. HDMI Cable connection
The second step is pretty easy. It involves connecting the HDMI cable to the EVPAD 5P TV box and the TV. Then connect the TV box to the internet cable. After you are done with connections, turn on the source of power.
3. Turning on the devices
After you have completed step two and you have to turn on the source of power. You can proceed to step three. Step three involves turning on the EVPAD 5P TV box and your TV. After you have turned on the devices, they will start automatically. The EVPAD 5p TV box will light up on the front display, proving that it is on.
4. Startup screen
After you have powered on everything, you can proceed to step four. Step four involves waiting up for the screen startup to appear to click enters.
5. Connect to internet
Once the startup screen appears, you are good to go up to the last step. Proceed to the setting option where you can set up the wifi. Or you can opt to connect the network cable directly. After you are done, use the EVPAD 5P TV box remote control to choose your wireless. Then you can use the remote control to set up a password.
Conclusion
As you can see from above, the steps of setting up the EVPAD 5P TV boxes are quite simple and easy. One of the advantages of the EVPAD 5P TV box is that it is not very time-consuming; in fact, it is a straightforward method.